
1"
Poster-making 101 for 1 PowerPoint slide
Essential information for preparing a poster for the poster printer
1. Poster size: You will be creating a single large slide in PowerPoint.
2. Before adding any content to your slide, go to the Design ribbon and click Page Setup to
change the height and width.
3. Required dimensions: 36" x 48"
Once you have the proper size, you may begin adding content to your poster. You may do this by
inserting textboxes, images, graphs, etc. If you change the page size after you already have content,
you will distort all of the objects on the page.
4. Margins: It is essential to leave at least a 1 inch margin around the edges of the poster. The
easiest way to see whether your margins are correct is to use the Grid and Guidelines features. Go
to the View ribbon and check out the three checkboxes to turn on the Ruler, Grid, and/or Guidelines
features.
The Grid will superimpose a grid with one inch squares on your slide. You can turn the grid off again
by unchecking the appropriate box. The Guidelines can help you judge the horizontal and vertical
center of your poster. These can be dragged to other locations using the mouse. Holding Ctrl while
dragging will create a copy of an existing guideline instead of moving it. Important: The Grid and
Guidelines features have inexplicably been left out of some version of PowerPoint for Mac.
5. No dark backgrounds: It is absolutely essential that the background of your slide uses light
colors. Most of the preset Design Templates in Powerpoint are created for on-screen presentation
and are way too dark to print. To use a different color background from the default white, right-click
on your slide (but not on any objects such as an image or textbox) and choose Background.... On the
Fill tab in the color dropbox, select More Colors.... You will see the following window:
2"
"
White is the center of the wheel. The best colors to use are the ones
immediately around the white center. If you stray too far away from
the center (i.e. more than two shades), your background will be too
dark to print.
NAME:
In one corner of your poster, include the following:
1. Your name
2. Your mentor’s name
3. The college’s name
ZOOM:
Use the zoom slider in lower right corner of PowerPoint to view your poster at different
resolutions. Use the "Fit slide to current window" button to see the entire poster.
FONTS
Here are some suggestions for types of fonts and sizes. For reference, a 100 point font is about an
inch high.
§ For the title, consider using a large, bold san-serif font, such as Arial Black, Franklin Gothic
Heavy, Tahoma, Trebuchet, or Verdana. Make the font size between 72-120 points.
§ For the subtitles (authors' names, school name, etc.), use the same font as your title but
make the font size smaller than the title. A font size between 48-80 points usually works best.
§ For the section headers (Abstract, Introduction, Results, etc.), use the same font as your title
and subtitle. Make the font size approximately 50% larger than the body text, between 36-72
points. Make sure that all section headers are the same font size.
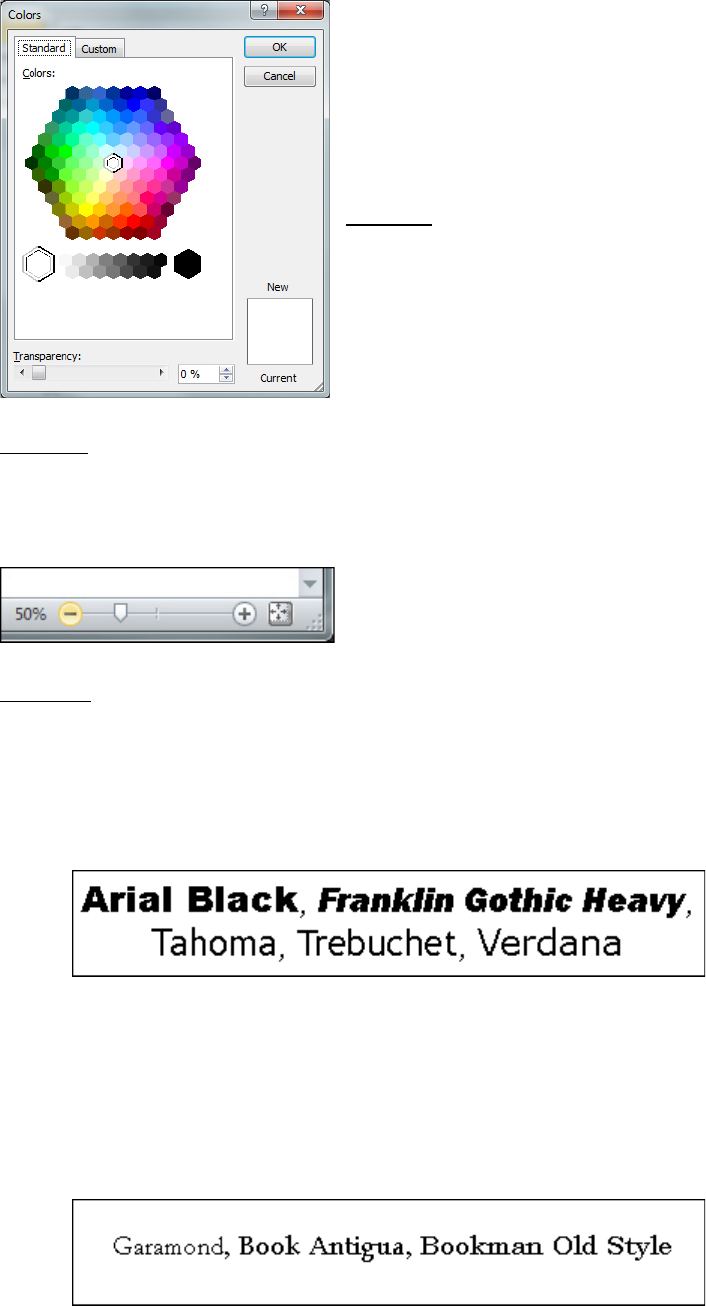
§ For the body text, choose a serif type that is very readable, like Garamond, Book Antigua or
Bookman Old Style. Make the font size between 24-48 points. Make sure that the body text is
the same font throughout the entire posters.
§ DON'T USE ALL CAPS for any portion of your poster. It is harder to read and it looks like you
are shouting.

3"
"
FORMATTING AND REARRANGING OBJECTS
§ To format a text box, right-click anywhere inside it, then select Format Text Box from the pop-
up menu. To select a background color with which to fill your object, click the Colors and Lines
tab. Then in the Fill area, click the arrow to the right of the Color entry box. You may select
from the colors that initially appear or click on More Colors for a wider range of options.
§ To create a border around a text-box, right-click anywhere inside it, then select Format Text
Box from the pop-up menu. In the dialog box that appears, select options in the Lines area to
choose your preferred line color, type of dash, style, and weight. (The default weight of .75
points is usually much too small for posters. Try 3-6 points for a border.)
§ To move an object, first select it by clicking inside it. For text boxes, a second click on the
border with diagonal lines will yield the border of find dots that is appropriate for
repositioning. For object other than text boxes, a single click creates a solid border that is
appropriate for repositioning. Then, position the cursor over a border location other than a
white square (handle) under the cursor becomes a four-headed arrow. Click and hold the left
mouse button. Move the cursor to drag the object to a new location.
§ Grouping objects together: To facilitate rearrangement of objects on your poster, it may be
advantageous to group some of them into a single object so they can be moved as a unit,
retaining their relative position to each other. To group objects, select one by right-clicking on
it. When a border with the white squares appears, hold down the Shift key, then select the
next object. Click Draw on the Drawing toolbar, then select Group from the pop-up menu. To
confirm that objects are grouped, check that the objects are surrounded by a single set of
white boxes, rather than individual sets of handles for each object. To reverse the grouping
procedure, click any object in the group. Click Draw on the Drawing toolbar, then select
Ungroup from the pop-up menu.
§ Resizing images of any kind: The best way to resize an
image is to select it and then drag the corner handle. If
you hold down the Shift key while resizing it, the
height-width ratio will be maintained so that the image isn't
distorted. To check whether an image is distorted or not,
right click on it and choose Format Picture.... Change to
the Size tab. If the height and width percentages under
Scale are not equal, the image is distorted. This dialog is
so useful for resizing an image to an exact size so that you
can align multiple images.
WORKING WITH GRAPHS
For best results, graphs should be created in Excel and then copied and pasted into
Powerpoint. To do this, select your graph in Excel. Right-click on it and choose Copy. Then return
to Powerpoint and choose Edit: Paste. (The shortcut keys ctrl-C and ctrl-V work, too!)

4"
"
You will probably want to resize your graph in Powerpoint. Select the graph and drag one of the
corner handles (not the ones on the sides, top or bottom). If you change the relative height and
width of your graph while resizing in Powerpoint, all text in the graph will be distorted. If you want to
change the proportions of your graph, do it in Excel before inserting it in Powerpoint. If you have
already imported your graph, simply delete the graph in Powerpoint, change the proportions in Excel,
and copy and paste the revised graph back into Powerpoint.
Once a graph is imported, you can still make changes to it by double-
clicking on the graph. This will give you almost all of the options that
you have in Excel for changing the text and look of the graph.
Sometimes you may want to add additional information to a graph
besides the basic axis labels, legend, etc. The best approach is to
create the the basic graph in Excel, copy and paste it into PowerPoint, and then use PowerPoint to
add additional lines, labels, etc.
TIPS FOR TITLES
The title is the first thing that your reader will look at (and hopefully not the only thing!) Your title
should be interesting, easy to understand, and encourage the reader to check out your poster in more
detail.
FULL JUSTIFY
If you have blocks of text, a quick way to give your poster a cleaner look is to do a full justify on the
text. The default left justify will make the left margin of your text even, whereas a full justify makes
both sides even. Highlight the text you'd like to change and go to Format: Alignment: Justify.

5"
"
PRINT A MINI-POSTER
Even though your PowerPoint slide is designed to print at a very large scale, it is possible to print the
whole thing on a letter-sized piece of paper. It will be easier
to proofread, check layout issues, and share drafts with
others when it is on paper instead of just in
PowerPoint.
• Go to File: Print
• Make sure that the Scale to Fit Paper option is
checked.
• Now select your favorite printer and click OK.
Think About Your Audience
During a typical poster presentation, you will be expected to stand near your poster to talk to people
attending the poster session. There are at least three different types of people that will visit your
poster.
THE SKIMMER
The Skimmer is a person who comes by and reads the basics about your project. They will certainly
read your title along with any other text that is written in a prominent font. They will look at your
pictures, tables, and graphs and possibly the accompanying captions. Then they will move on.
THE READER
The Reader is somebody who has an intrinsic interest in your topic or discipline. They will spend
more time with your poster and read most or all of the text.
THE CHATTER
The Chatter can be the most aggravating or the most interesting type of person that you will
encounter. They will walk up and (sometimes without even reading your title) ask "What did you
study?" You will be expected to explain the basics of your project multiple times during a poster
session.
"
